Mask and Coating Repair
Gold Fingers | BGA Pads | Plated holes | Edges | Mask | Populated Boards | Pad and Traces
Rework/Repair Services
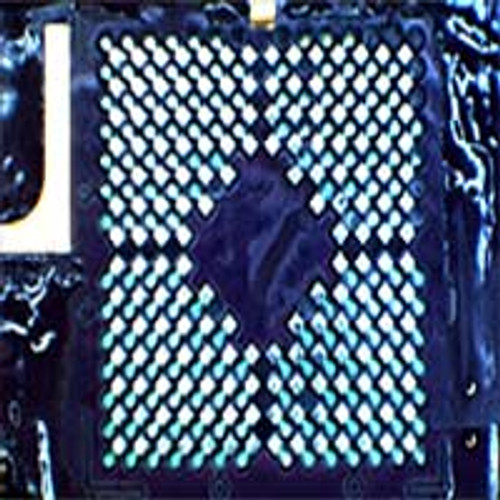
BEST technicians can add, remove or replace solder mask and coating materials. Solder mask repair may be part of other mechanical PCB board damage that has occurred, poor quality from the board shop, or it may be due to a component that has seen excessive heat applied to it. On BGA patterns where solder mask has been removed between the pad and the via, BEST technicians can touch up the solder mask so solder will not flow down the dog-bone and starve the solder joint. BEST can also color match in order to make sure that the replacement mask looks like the rest of the board as you can really see the pride we take in the “art” of our PCB solder mask repair.
BEST technicians can, depending on the type of solder mask or coating being dealt with, use chemicals, scraping, abrasion, laser ablation or micro sandblasting techniques in order remove coatings or solder mask. When there are large mask areas that need repair or the same area in many boards need the same repair or replacement BEST Inc. can design and engineer masks for stencil replacement
There are times when there is extensive solder mask damage underneath a BGA due to poor solder mask adhesion, board fabrication problems or improper or multiple heat applications to the same area of the PCB. In some cases we may recommend our StencilQuik™ stencil which acts as a mask repair technique, while at the same time providing for a robust connection of a replacement BGA. BEST can make sure your solder mask is repaired to the industry guidelines, but get it done for you quickly.
When required BEST technicians can remove or add legend and other markings from the board surface.
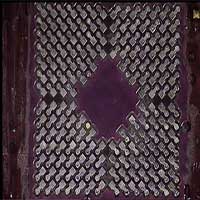 Damaged solder mask Damaged solder mask |
 Repaired Solder Mask Repaired Solder Mask |
SOLDER MASK REPAIR PROCEDURE-GENERAL GUIDELINES
1. Make sure that the area to have the solder mask repaired is cleaned and inspected.

2. If required, apply high temperature tape in order to outline the area where the replacement solder mask will be applied.

3. Using the replacement UV-curable solder mask material apply this to the areas requiring repair. If desired, add color agent to the mixed epoxy to match the circuit board color.
4. Cure the replacement solder mask by setting the PCB underneath the UV curing lamp as per the manufactuerer’s recommendations.. Watch out for heat sensitive components.

5. Perform a visual inspection for color match and adhesion per the IPC TM-650 specifications.
6. Inspect per the latest IPC-A-610 requirements
